
Imagine you’re dealing with a leaking water heater on a Saturday morning and unsure how to turn it off safely. Before proceeding, it’s essential to understand the type of water heater you have, whether electric, gas, or tankless. You’ll need basic tools, like a wrench and a voltage tester, to guarantee everything goes smoothly. But how do you secure your safety and protect your home’s water system during this process? By following a structured approach, you’ll handle this task confidently. Let’s explore each step to manage this important household chore safely.
Identify Your Water Heater Type
Begin by determining whether your water heater is electric, gas, or tankless, as this will dictate the specific steps you’ll need to follow. Start by locating the water heater, usually found in utility rooms, basements, or garages. Check for a power cord connected to an electrical outlet; this signifies an electric water heater. Look for a control panel with electrical settings to confirm. If the water heater has a visible gas line or a vent pipe, it’s likely a gas model. You should see a pilot light or a gas burner assembly under the tank.
The unit is compact and mounted on a wall for a tankless water heater, often near the point of use. Note the presence of electrical wires or a gas line, which will help determine the type. Familiarize yourself with the unit’s control panel, where you’ll find important information about the model. This identification is essential because each type requires different procedures for shutting down safely. Understanding your water heater type guarantees you take the correct steps, minimizing risks and safeguarding the safety of those you serve by making informed decisions during maintenance or emergency situations.
Gather Necessary Tools
Once you’ve identified your water heater type, gather tools such as a wrench, screwdriver, and voltage tester to guarantee a safe and efficient shutdown. These tools are essential for handling various heater components and making certain each step is performed correctly. Begin by checking your toolbox for these items, as they are fundamental in addressing the water heater’s mechanical and electrical aspects.
- Wrench: Use this to loosen and tighten nuts or bolts that secure pipes or panels. It’s vital for adjusting water supply connections and accessing internal components.
- Screwdriver: A flathead or Phillips screwdriver will help you remove screws from access panels or control boxes. This is necessary for reaching electrical connections and control systems.
- Voltage Tester: Before you touch any electrical part, use a voltage tester to confirm there’s no electricity flowing to the heater. This reduces the risk of electrical shock, safeguarding your safety and the safety of others.
Equipping yourself with these tools reflects your commitment to performing the task responsibly. By being prepared, you ensure that your actions protect you and uphold your responsibility to those who rely on your service.
Ensure Personal Safety
Before proceeding with the shutdown, verify that you’ve turned off the power supply and water source to the heater, guaranteeing no risk of electric shock or water leakage during the process. It’s essential to confirm these steps to maintain your safety and the integrity of the appliance. Check the circuit breaker to confirm it’s switched off if you have an electric water heater, or verify the gas valve is closed for a gas model. Remember, working safely means preventing hazards before they arise.
Next, equip yourself with appropriate personal protective equipment (PPE). Wear rubber-soled shoes to reduce the risk of slipping and provide extra insulation against potential electric shocks. Gloves are also recommended to protect your hands from sharp edges or hot surfaces. Keep a flashlight handy, especially if your heater is in a dimly lit area, to help you see clearly and avoid accidental injuries.
If you have a gas water heater, maintain a well-ventilated space. This precaution minimizes the risk of gas buildup, which could lead to dangerous situations. By taking these proactive steps, you’re protecting yourself and safeguarding the safety of those around you.
Locate the Power Source
To locate the power source for your water heater, first, identify whether it’s an electric or gas model by checking the manufacturer’s label or the heater’s external features. Electric water heaters typically have a visible electrical conduit or junction box on top. On the other hand, gas models will have a gas line connected to a control valve. Recognizing these differences is essential for safely proceeding with the power disconnection.
If your water heater is electric, follow these steps to find the power source:
- Locate the Circuit Breaker Panel: Find the main electrical panel in your home. It’s usually in a garage, basement, or utility room.
- Identify the Water Heater Breaker: Look for a labeled breaker switch indicating ‘Water Heater.’ It’s usually a double-pole breaker.
- Verify the Power Status: Confirm the breaker is switched off by testing the heater for residual power.
For a gas water heater, the power source is generally a standard electrical outlet that powers the igniter and controls. If accessible, unplug the unit from the outlet. Your attention to detail guarantees safety and supports those relying on you in this task.
Turn Off the Gas Supply
Guarantee safety by locating the gas shut-off valve near the base of the water heater on the gas line. This valve is essential for halting the gas flow and preventing potential hazards. Make sure you’re familiar with its appearance; it’s usually a lever or a knob. In most cases, the valve is aligned with the pipe when open. To close it, rotate the lever or knob a quarter turn counter-clockwise until it’s perpendicular to the pipe. This action effectively stops the gas supply, safeguarding your safety and that of others.
Before proceeding, double-check that the valve is fully closed. A gas leak can pose a significant risk, so listen for any hissing sounds or smell of a rotten egg odor, which indicates a gas leak. If you detect a leak, evacuate immediately and contact a professional. For further assurance, consider using a gas leak detector.
Shut Off the Electric Supply
After ensuring the gas supply is securely closed, focus on disconnecting the electric supply by locating the circuit breaker panel that controls power to the water heater. This step is essential for safety, preventing electrical shocks or damage to the unit. Here’s how you can do it effectively:
- Identify the Correct Breaker: Find the switch labeled for the water heater in the circuit breaker panel. If it’s not labeled, consult any diagrams or manuals you may have to avoid turning off power to essential appliances.
- Flip the Breaker Switch: Turn off the breaker switch by moving it to the ‘off’ position. This action cuts the power supply, ensuring the water heater is electrically isolated. Always use your dominant hand to maintain control and prevent any accidental slips.
- Double-check the Power Status: Confirm that the water heater is off by checking any indicators on the unit itself. If it has a display or lights, it should be inactive. Use a voltage tester on the water heater’s electrical connections for added assurance.
Close the Water Supply Valve
Once you’ve confirmed the electric supply is disconnected, locate the cold water supply valve near the top of your water heater and turn it clockwise to halt the water flow into the unit. This valve is typically a wheel or lever-style handle attached to a pipe entering the heater. By turning it clockwise, you’re effectively closing the valve, guaranteeing no additional water enters the tank. This step is essential to prevent water damage or unnecessary pressure build-up within the heater.
Verify the valve is completely closed by applying moderate pressure as you turn. You should feel resistance once it’s fully shut. If the valve is stiff and difficult to turn, gently persuade it without force, as excessive force might damage the valve or piping. Always prioritize safety and precision over speed.
After closing the valve, double-check that the water flow has ceased by listening for any residual sounds of running water. This precaution guarantees that the heater is isolated from the main water supply. Taking these careful steps helps maintain the integrity of your water heater and prevents complications, allowing you to proceed to the next task confidently.
Drain the Water Heater
With the water supply securely shut off, attach a garden hose to the drain valve at the bottom of your water heater to begin the draining process. Confirm the hose is long enough to reach a suitable drainage location, such as a floor drain or an outdoor area, to prevent flooding or water damage. Use a wrench to securely tighten the hose onto the valve, confirming no leaks.
Once the hose is attached, follow these steps to drain the water safely:
- Open the Drain Valve: Turn the drain valve counterclockwise to open it. This will allow the water to flow through the hose. Be cautious of hot water, as it may still be in the tank.
- Open a Hot Water Tap: Open a hot water tap in your home, such as a bathroom or kitchen faucet, to allow air into the system, draining the tank more efficiently.
- Monitor the Flow: Keep an eye on the draining process to confirm the water is flowing steadily and being directed away from any areas that could be damaged by water.
This confirms that your water heater is emptied completely and safely.
Check for Leaks or Issues
Inspect the area around the water heater for any signs of leaks or damage, ensuring all connections and valves are secure and functioning correctly. Begin by examining the floor beneath and around the heater for any moisture, which could indicate a leak. Pay special attention to the pressure relief and drain valves, as these are common areas where leaks occur. Ensure the pressure relief valve works properly by lifting the lever and ensuring it snaps back into place without any dripping.
Next, check the inlet and outlet pipes for any signs of corrosion, rust, or dampness. These pipes should be intact without any visible cracks or wear. Tighten loose connections with a wrench, but be careful not to overtighten. Examine the tank for any rust spots or bulges; these could be signs of internal damage requiring professional attention.
Restarting Your Water Heater
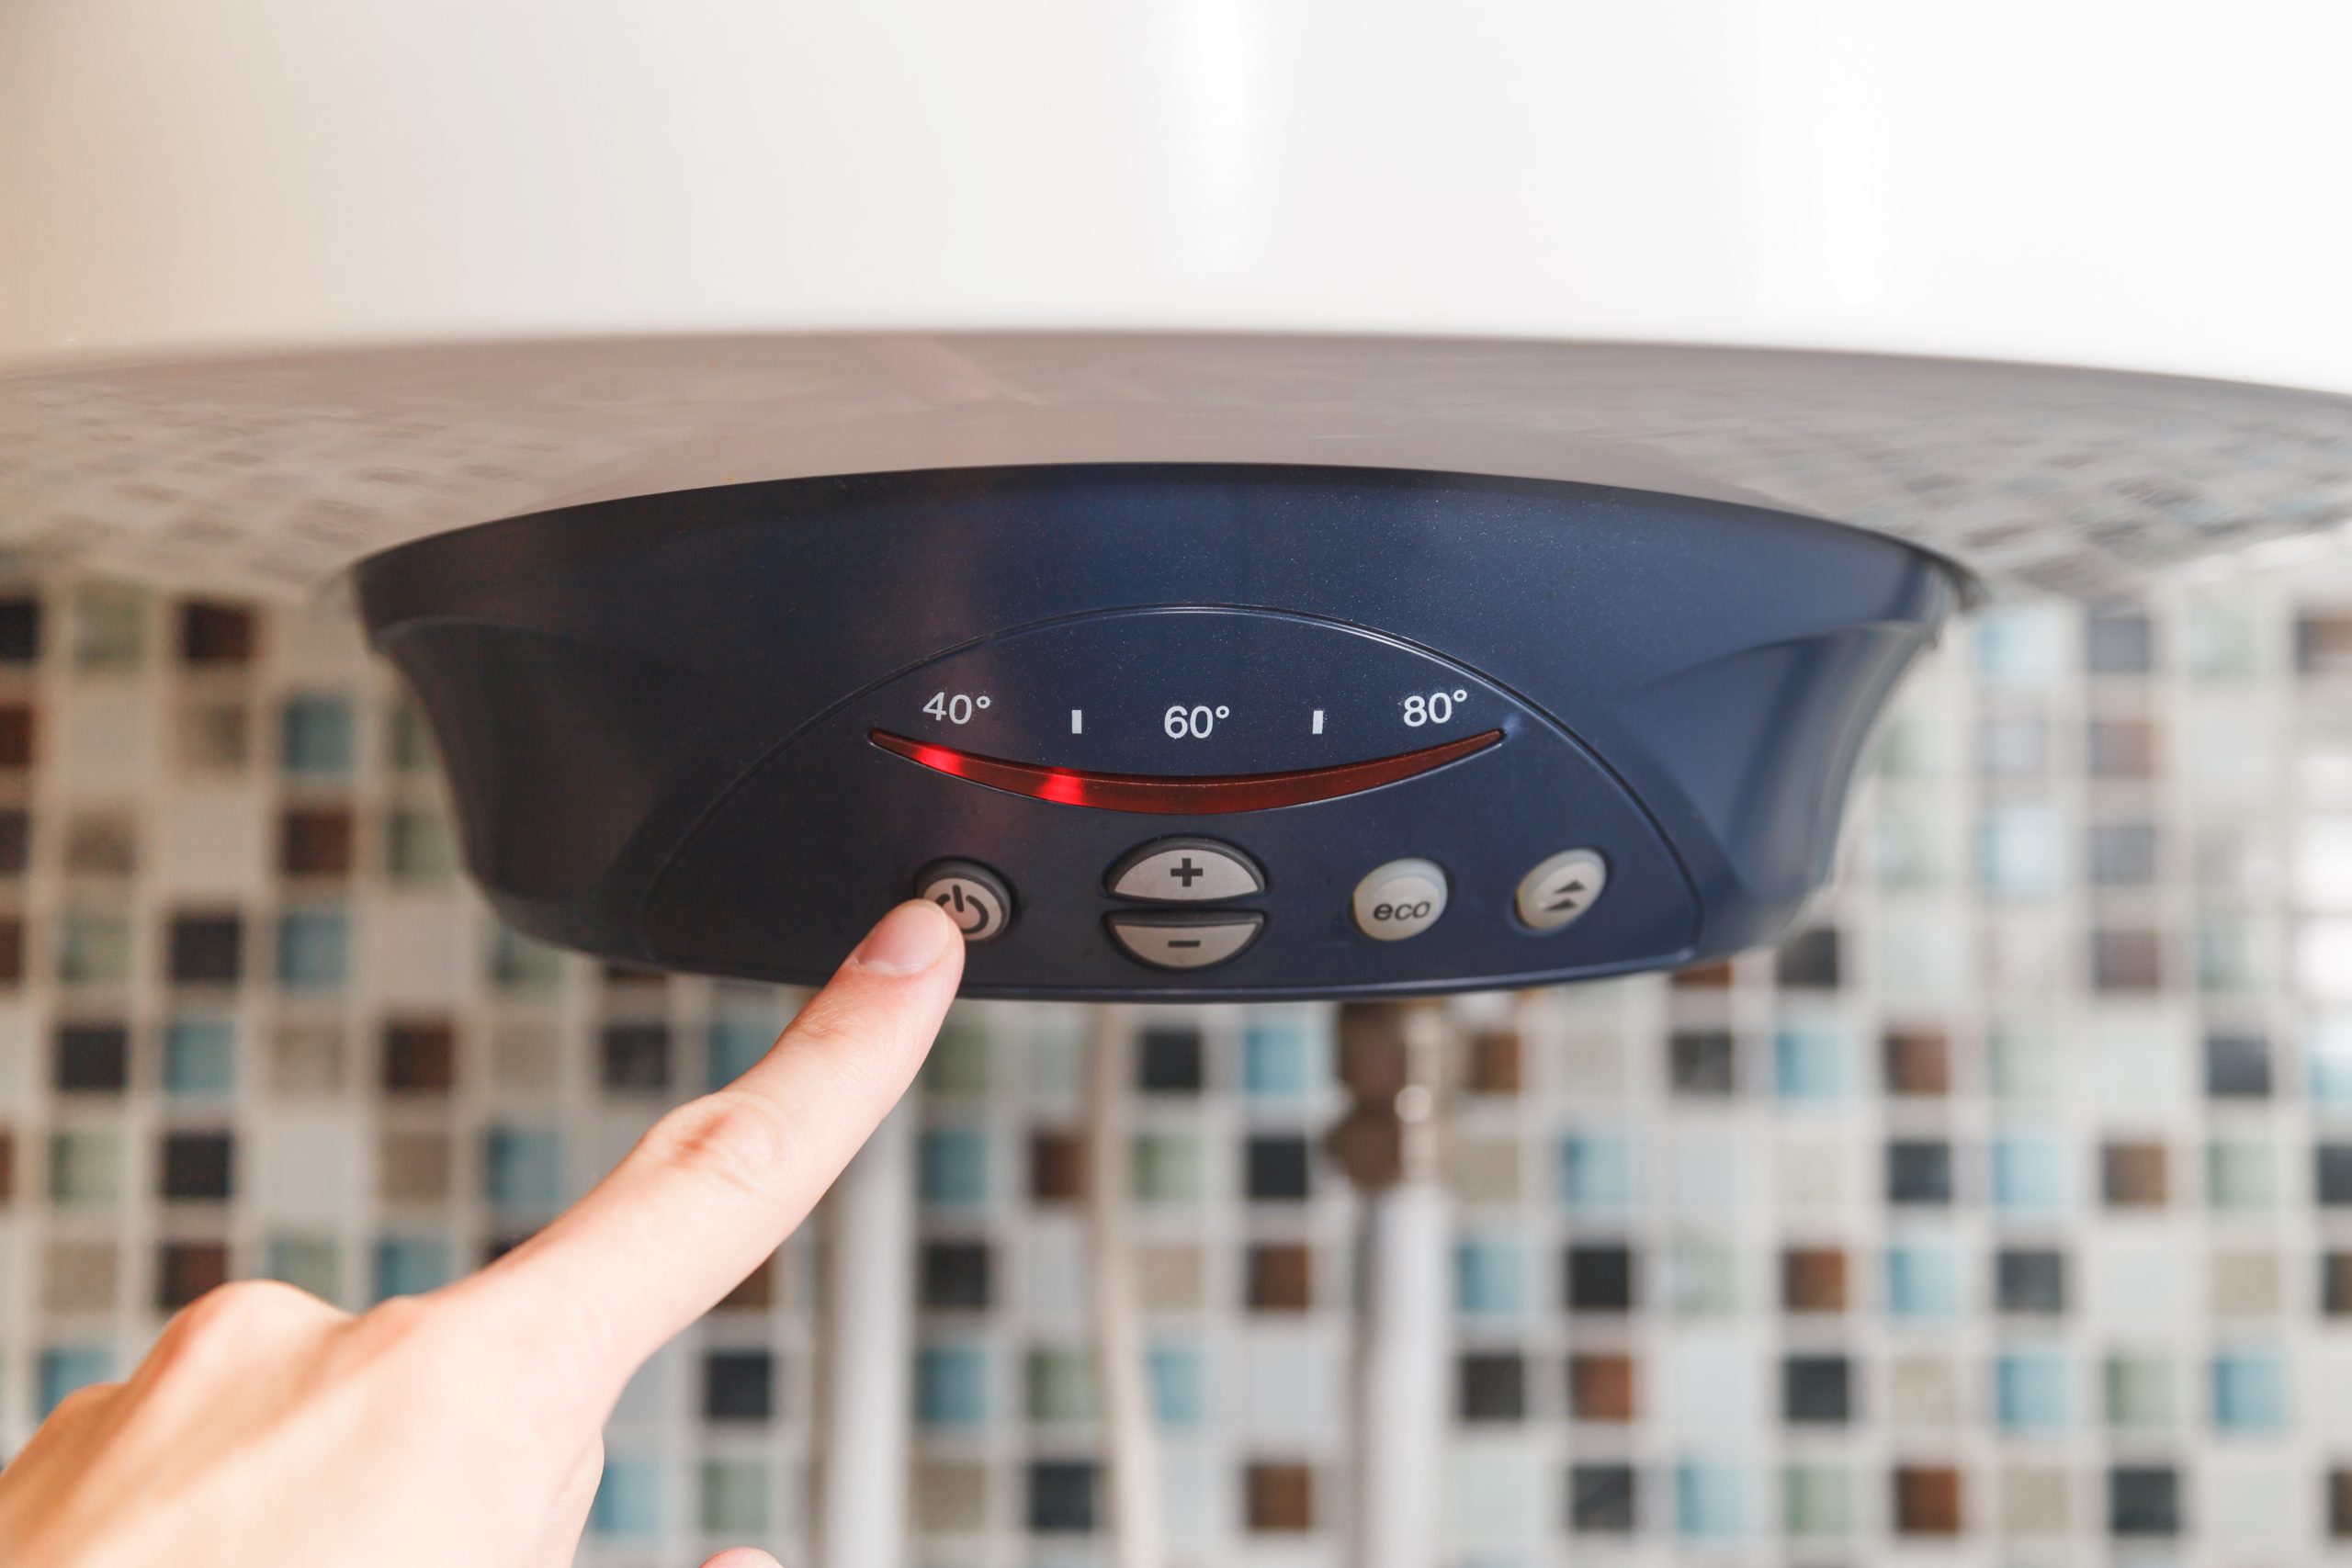
To restart your water heater safely, verify that all valves and connections are secure and turn the thermostat to your desired temperature setting. Begin by double-checking that the water supply valve is fully open. Next, confirm that the gas valve is in the ‘on’ position. For electric heaters, reconnect the power supply. These steps prevent potential hazards and guarantee efficient operation.
After confirming connections are secure, perform the following checklist:
- Pilot Light (Gas Heaters): If your heater uses a pilot light, ignite it by following the manufacturer’s instructions. Often, this involves turning the control knob to ‘pilot’ and using a lighter or igniter button.
- Heating Elements (Electric Heaters): Check that both upper and lower heating elements are functioning for electric models. You may need a multimeter to test for continuity.
- Temperature Setting: Adjust the thermostat to a safe temperature, commonly around 120°F. This temperature is suitable for preventing scalding and conserving energy.
Once these steps are complete, monitor your water heater for unusual noises or leaks. These signs may indicate underlying issues needing further attention. Verifying everything operates smoothly contributes to a reliable hot water supply, enhancing your ability to serve others effectively.
Conclusion
You’ve navigated the labyrinth of your water heater with care, each step a key releasing safety and efficiency. You’ve shielded your home from potential woes by guaranteeing the power is cut and water sealed. Like clearing old chapters, draining the tank prepares it for a fresh start. Inspecting for leaks guarantees no hidden stories linger. As you restart, think of a phoenix rising—your water heater stands ready, renewed, and reliable for the tasks ahead.
Frequently Asked Questions
How Often Should a Water Heater Be Turned off for Maintenance?
You should turn off your water heater for maintenance every six months. This guarantees efficiency, prevents sediment buildup, and extends its lifespan. It also helps you serve others by providing consistent hot water without unexpected failures.
What are the signs that my water heater needs to be turned off immediately?
Imagine your water heater as a diligent helper—when it leaks, makes strange noises, or turns cold unexpectedly, it cries for help. Turn it off immediately to prevent further damage and guarantee your household’s safety.
Will Turning off the Water Heater Affect My Home’s Water Pressure?
Turning off your water heater won’t affect your home’s water pressure, which relies on the municipal supply or your well system. Confirm the heater’s off for maintenance or emergencies without worrying about pressure changes.
How Can I Prevent Sediment Buildup When Restarting My Water Heater?
To prevent sediment buildup, flush your tank before restarting. Drain the water heater completely, then refill it. This clears existing sediment and reduces future buildup, ensuring ideal performance and longevity for those relying on your expertise.
Can I Turn off My Water Heater if I Suspect a Gas Leak?
If you suspect a gas leak, immediately turn off your water heater’s gas supply using the shut-off valve. Prioritize safety by ventilating the area, avoiding electrical switches, and contacting professionals to inspect and resolve the issue.